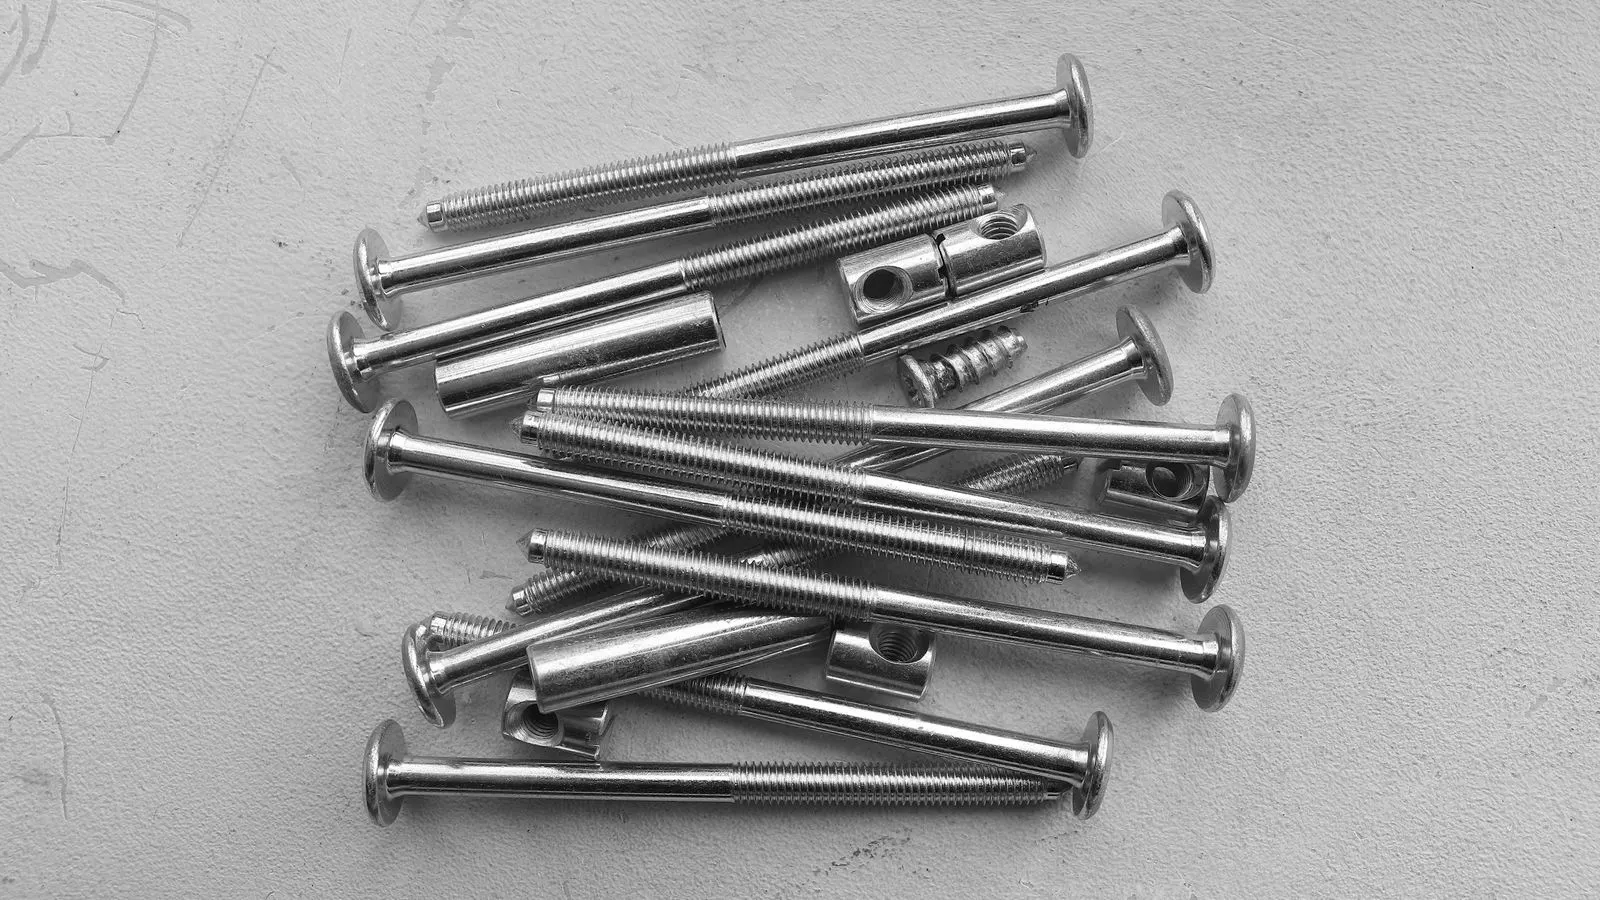
Checklist: Verifying Thread Pitch on Anchor Bolts

Confirming anchor bolt thread pitch requires measuring the thread, checking surface markings, and comparing against purchase orders. This guide provides a structured audit checklist to identify mismatches, prevent installation delays, and ensure structural integrity for critical projects.
- Measure thread pitch directly with a gauge or calipers when markings are absent.
- Verify the relationship between thread diameter and pitch to confirm the correct metric series.
- Inspect thread form for damage, burrs, or incorrect taper angles that affect torque.
- Cross-reference physical measurements against the supplier certificate of conformance for every batch.
- Reject or quarantine bolts with mismatched pitch to prevent rework and structural risk.
Why Thread Pitch Verification Matters Before Installation
Incorrect thread pitch on anchor bolts creates immediate friction. A mismatched pitch prevents the bolt from seating properly into the prepared hole or the corresponding nut. It also compromises the intended clamping force. When the thread form does not match the design specification, the bolt may strip the hole, fail to reach required torque, or develop uneven stress distribution.
This check belongs at the receiving dock. Waiting until the installation crew is on site to discover the error creates logistical chaos. It requires reordering, halting work, and potentially re-drilling holes. A structured audit checklist helps procurement and quality teams catch these defects early.
How to Identify the Nominal Thread Pitch
The nominal thread pitch is the distance between adjacent thread crests measured along the axis of the bolt. For metric bolts, the pitch is usually a standard value. Common pitches include 1.0, 1.5, 2.0, 2.5, and 3.0 millimeters, depending on the bolt diameter.
Check the surface marking first. Most anchor bolts have the thread specification stamped or laser-etched on the shank. The marking usually shows the diameter and the pitch, such as M20x1.5. If the marking is worn, missing, or contradicts the purchase order, do not rely on it. You must move to physical measurement.
For bolts without markings, use a thread gauge or a digital caliper. A thread gauge is a set of wedge-shaped tools with teeth matching specific pitches. Slide the gauge over the thread. It fits snugly only when the pitch matches. If you do not have a gauge, measure the length of five threads and divide by five. This method provides a close approximation but requires a clear, undamaged section of the thread.
What to Check on the Thread Form
Thread pitch is only one part of the thread specification. The thread form includes the thread angle, the crest shape, and the root depth. Standard metric threads use a 60 degree angle, while imperial threads use a 55 degree angle.
Inspect the thread visually. Look for burrs, nicks, or deformation. A damaged thread reduces the effective engagement area. It may prevent the bolt from reaching full torque without slipping or galling. Also check for taper. Anchor bolts often have a tapered shank or a conical head. The thread pitch should remain consistent along the entire threaded length. If the pitch changes along the shank, the bolt is out of specification.
Compare the thread form against a known good sample if available. Hold the incoming bolt next to a reference bolt from a previous approved batch. Differences in thread height or angle are often visible by eye.
How to Cross Reference Measurements with Documents
Physical measurement must align with paper. The purchase order, the supplier certificate of conformance, and the engineering drawing must all agree on the thread specification.
Start with the engineering drawing. It defines the required bolt size and thread pitch. Then check the purchase order. Ensure the supplier quoted the exact same specification. Finally, review the certificate of conformance from the supplier. This document should list the heat number, material grade, and thread dimensions.
If any of these documents disagree, the batch is questionable. Stop the inspection process. Contact the supplier for clarification. Do not proceed with installation until the discrepancy is resolved. A single mismatched document can signal a systemic error in the supplier’s production or shipping process.
Red Flags That Indicate a Pitch Error
Certain signs point to a thread pitch problem before you even measure.
- The bolt does not thread smoothly into the prepared hole.
- The nut spins freely without gaining resistance.
- The thread appears coarser or finer than expected compared to a reference bolt.
- The surface marking is partially ground off or looks altered.
- The supplier’s packing slip lists a different size than the purchase order.
If you see any of these signs, quarantine the batch. Do not mix these bolts with other batches on the job site. Label them clearly and move them to a segregated area.
How to Record the Audit Results
Documentation protects the project team. Record the results of your thread pitch verification in a simple log. Note the batch number, the date, the measurement method, and the final result.
Include a photo if the marking is worn or if the thread is damaged. A photo provides visual evidence for later disputes or claims. Store the log with the project quality records. This documentation helps trace the issue back to the supplier if a pattern emerges across multiple deliveries.
Audit Checklist
- Check Purchase Order: Confirm the required thread diameter and pitch match the engineering drawing.
- Inspect Surface Markings: Read the stamped or etched thread specification on the bolt shank.
- Measure Thread Pitch: Use a thread gauge or calipers if markings are absent or unclear.
- Examine Thread Form: Look for damage, burrs, or inconsistent thread angles along the shank.
- Verify Taper and Length: Ensure the threaded length and taper match the design requirement.
- Review Certificate of Conformance: Confirm the supplier’s documentation matches your physical measurements.
- Quarantine Mismatches: Isolate any bolts with incorrect pitch or damage for supplier review.
How to Handle a Pitch Mismatch
When a mismatch is found, do not attempt to force the bolt into service. The structural integrity depends on the correct thread engagement. Forcing a mismatched bolt can damage the hole and the bolt itself.
Notify the supplier immediately. Provide your measurement data and the relevant documents. Request a replacement batch or a formal concession if the supplier claims the error is negligible. In most structural applications, there is no acceptable tolerance for a wrong thread pitch. The bolt must be replaced.
If the project is on a critical path, consider sourcing a replacement from an approved supplier. Ensure the alternative source provides the same material grade and thread specification. Do not substitute a different thread pitch to save time. The engineering design assumes a specific pitch.
Common Mistakes in Thread Pitch Verification
Buyers often rush this step. They assume the supplier knows what they ordered. This assumption fails when multiple batches arrive simultaneously. Always verify each batch independently.
Another common mistake is relying on visual inspection alone. A coarser pitch can look similar to a finer one if the lighting is poor or the thread is dirty. Always use a gauge or calipers when in doubt.
Some teams skip the documentation step. They fix the immediate problem but do not record the issue. This makes it hard to hold the supplier accountable. Keep a log. It is simple and effective.
Reference Table for Common Metric Pitches
Use this table as a quick reference during your audit. It lists common metric bolt sizes and their standard coarse thread pitches. Always verify against the specific engineering drawing, as fine threads or non-standard pitches may be required for certain applications.
| Bolt Size | Coarse Pitch (mm) | Common Use Case |
|---|---|---|
| M10 | 1.5 | Small structural connections |
| M12 | 1.75 | General purpose anchoring |
| M16 | 2.0 | Heavy equipment mounting |
| M20 | 1.5 | Structural steel connections |
| M24 | 3.0 | Large structural anchors |
| M30 | 3.0 | Heavy duty foundation anchoring |
Final Thoughts on Quality Control
Thread pitch verification is a low cost, high impact check. It takes minutes to perform and can prevent hours of rework. Integrate this audit into your receiving procedure. Make it a standard step before any bolts are moved to the installation area.
By following this checklist, you ensure that the fasteners on your project match the engineering intent. You protect the structural performance of the building or equipment. You also build a reliable history with your suppliers. Consistent verification signals that you take quality seriously. It encourages better performance in future orders.
Frequently asked questions
Can I use a fine thread bolt if the design calls for a coarse thread?
No. The thread pitch must match the design specification. A fine thread bolt will not engage correctly with a hole prepared for a coarse thread, leading to poor clamping force or damage.
What if the thread marking is worn off?
You must measure the pitch physically using a gauge or calipers. Do not rely on the diameter alone, as multiple pitches can exist for a single diameter.
Is there a tolerance for thread pitch?
Yes, but it is strict. Small variations are allowed, but the pitch must fall within the standard tolerance range for that thread size. A mismatch beyond this range is a defect.
How often should I verify thread pitch?
Verify every incoming batch. Do not rely on the previous delivery being correct. Each batch requires its own audit to ensure consistency.
Can I fix a mismatched thread pitch by re-tapping?
No. Re-tapping an anchor bolt is not a standard repair method. It weakens the bolt and is not approved for structural use. Replace the bolt.