How to Apply Flange Washers to Reduce Bearing Stress
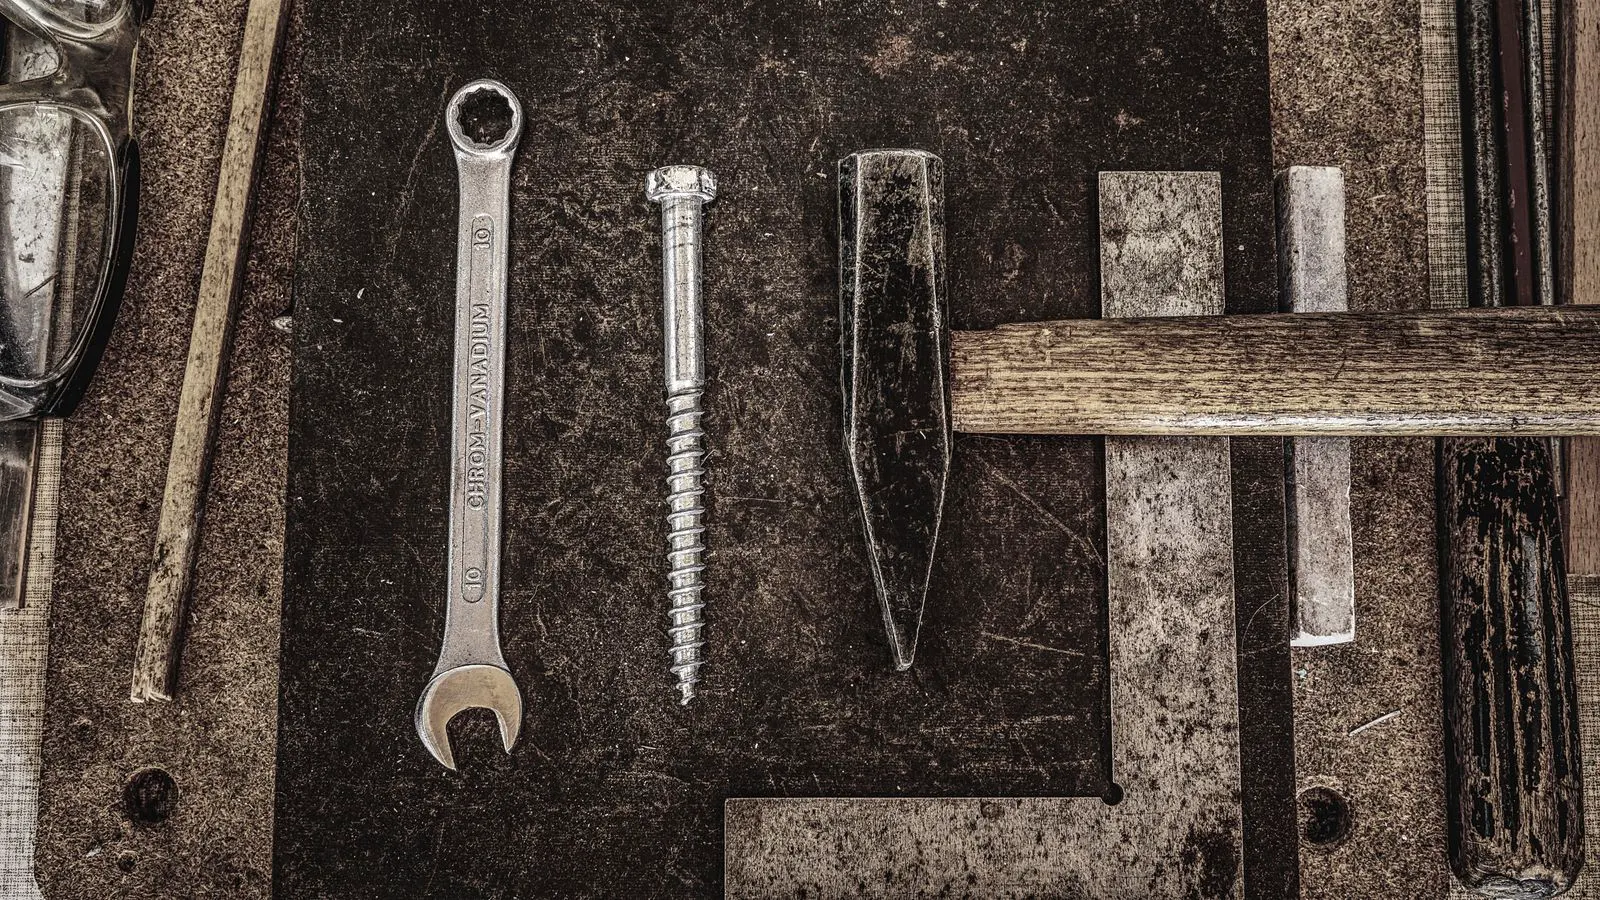
Flange washer application involves preparing the joint, aligning the part, and torquing correctly. This process spreads load over a larger area, prevents surface damage, and maintains bolt tension under vibration or thermal cycles.
- Flange washers reduce bearing stress by increasing the contact area between the fastener and the joint face.
- Correct flange washer application starts with cleaning and aligning the fastener before torquing.
- Verify joint torque and surface condition after installation to confirm proper load distribution.
- Select the washer thickness and material to match the joint clearance and service environment.
Why Flange Washers Matter in Joint Design
Bearing stress concentrates where the fastener head or nut meets the joint surface. High stress can deform soft materials, crush gaskets, and pull the thread out of the joint. A flange washer solves this by spreading the load over a larger diameter than the fastener itself.
The washer sits between the fastener and the mating part. Its flat, extended face takes the clamping force. This changes the pressure distribution from a small, sharp spot to a broad, even zone. Engineers use this to protect surfaces, improve joint stiffness, and control preload.
The success of this method depends on correct flange washer application. A misaligned or loose washer defeats the purpose. The load may still concentrate on the fastener head or the washer edge.
Prerequisites for Correct Installation
Before handling the part, confirm the joint is ready. The mating surfaces must be clean, flat, and free of burrs. Dirt or paint traps air and creates uneven pressure. Use a lint free cloth or solvent to remove debris.
Check the fastener and washer compatibility. The bolt diameter must match the washer hole exactly. A washer with a hole too large will rock under load. A hole too small will not seat fully. The washer thickness must fit within the joint clearance. If the washer is too thick, the bolt cannot reach the nut.
Review the torque specification. The value comes from the joint design and the fastener grade. Do not guess. A torque wrench calibrated for the current size is required. Mark the fastener and washer before starting. This helps verify torque direction and prevents over tightening.
Step 1: Clean and Prepare the Joint Face
Remove all residue from the bolt head or nut and the mating surface. This includes oil, paint, rust, and machining swarf. Even a thin film of paint changes the friction coefficient and affects the final preload.
Scrape the area gently with a plastic scraper if the surface is soft. Avoid steel brushes on precision plates because they can leave scratches that act as stress risers. Inspect the surface under light. Look for dents or warping. A warped face will not seat evenly and will defeat the load distribution.
The goal is a dry, clean interface. The washer must bear directly on the base material.
Step 2: Select the Correct Washer Geometry
Choose the outer diameter based on the stress reduction requirement. A larger diameter spreads the load further, but it may interfere with nearby parts or fasteners. Check the drawing for clearance.
Match the washer material to the joint. If the joint faces are softer than the washer, the washer may crush. If the washer is softer than the joint, it may deform. In many applications, the washer is made of a material with similar or higher yield strength than the base material.
Consider the inner diameter. It must match the fastener shank or head diameter. For standard hex bolts, the inner diameter is typically sized to prevent the washer from rocking. For larger fasteners, the washer may have a slightly larger inner diameter to allow for manufacturing tolerance.
Step 3: Position the Washer and Align the Fastener
Place the flange washer on the joint face. Orient it so the flat side faces the base material. For a bolt head, the washer sits under the head. For a nut, it sits under the nut.
Slide the fastener through the hole. Keep the washer centered. Use a straight edge or a square to check alignment. The fastener should be perpendicular to the joint face. An angled fastener concentrates load on one side of the washer edge.
If the joint has multiple fasteners, install them in a star pattern. This prevents uneven clamping force. Start each fastener by hand until it is snug. Do not torque any fastener fully until all are hand tightened.
Step 4: Preload the Fastener
Rotate the nut or tighten the bolt with a socket wrench. Apply light torque to remove any initial looseness. The washer should sit flat against the surface. Listen for a slight clunk when the washer contacts the base material.
If the washer lifts or tilts, stop and recheck the surface. A warped plate or a bent fastener will prevent proper seating. Correct the issue before continuing.
The purpose of this step is to establish contact. The fastener should be snug but not fully torqued. This ensures the washer is in its final position before the main torque is applied.
Step 5: Torque to Specification
Use a calibrated torque wrench. Set it to the value specified in the joint design. If the specification is a percentage of bolt proof load, calculate it first.
Apply torque in a controlled manner. Do not jerk the wrench. A sudden impact can damage the thread or the washer. Apply steady pressure until the click is heard.
If the joint requires a specific torque sequence, follow it. For large assemblies, torque in stages. Tighten each fastener to half torque, then to three quarters, then to full. This equalizes the clamping force across the joint.
The washer distributes the force from the fastener head or nut to the joint face. The torque value controls the axial load. The load is what compresses the joint.
Step 6: Check for Proper Seating and Alignment
After torquing, inspect the washer. It should lie flat against the joint face. There should be no gap between the washer edge and the surface.
Check the fastener for perpendicularity. If the bolt head is tilted, the load is uneven. Loosen the fastener, reposition the washer, and re-torque. Do not force a tilted fastener into place.
Look for marks on the washer face. A uniform ring of pressure is expected. A line or spot indicates uneven contact. This can happen if the surface is dirty or the fastener is bent.
Step 7: Verify Torque and Joint Stiffness
Use a torque wrench to verify the final torque. Re-torque if the value is below specification.
Check the joint for movement. Gently shake the fastener. There should be no rotation of the nut or bolt. If there is movement, the preload is insufficient or the joint is loose.
For critical applications, measure the deflection of the joint under load. Use a dial indicator or a load cell. The deflection should match the predicted value from the joint design. If the joint is too soft, the bolt may back off. If it is too stiff, the bolt may strip.
Common Mistakes in Flange Washer Application
Using a washer that is too thin is a frequent error. It fails to increase the contact area enough to reduce stress. The bearing pressure remains high.
Placing the washer on the wrong side of the joint is another mistake. For a bolted cover plate, the washer usually goes under the bolt head. Under the nut, it may not provide the same support if the nut is on a soft material. Follow the design intent.
Ignoring surface finish is a hidden risk. A rough surface increases friction and makes torque-to-load conversion unpredictable. The torque value may not produce the intended clamping force.
Omitting the washer because the joint “looks fine” is dangerous. The joint may work under static load but fail under vibration. The washer provides a mechanical buffer that protects the interface.
Final Verification and Maintenance
After installation, document the torque values and any deviations. Record the date and the inspector. This creates a traceable record for the joint.
During routine maintenance, check the flange washer for damage. Look for deformation, cracking, or corrosion. Replace the washer if it is deformed. Do not reuse a crushed washer.
If the joint is subject to thermal cycling, recheck the torque periodically. Heat and cool cycles can cause the bolt to relax. The washer may settle into a new position. Re-torque to specification to maintain preload.
Washer Functions in Heavy Load Joints
Flange washers handle several mechanical functions at once. They reduce bearing stress, increase the effective bearing area, and protect the joint surface. They also help maintain the fastener alignment.
In heavy load applications, the washer may be made of a hardened material to resist crushing. The outer diameter is often larger than in light duty joints. The thickness is increased to handle higher pressures.
The washer must be selected to match the load. A standard washer may not be enough for a high pressure joint. A custom flange washer with a larger diameter or a different material may be required.
| Washer Feature | Effect on Joint |
|---|---|
| Larger outer diameter | Reduces bearing stress by spreading load |
| Increased thickness | Adds clearance and prevents interference |
| Hardened material | Resists crushing under high load |
| Correct inner diameter | Prevents rocking and maintains alignment |
| Clean surface finish | Ensures even contact and friction |
Joint Design and Load Distribution
The flange washer changes the load distribution from a point load to a distributed load. The pressure under the fastener head is high. The pressure under the washer is lower and more uniform.
This is critical for soft materials like aluminum or plastic. A direct bolt head can crush the material and pull the joint apart. The washer prevents this by acting as a bearing pad.
The joint design must account for the washer. The hole in the base material must be large enough to clear the washer if it expands. The clearance must allow for thermal growth.
How to Select the Right Washer
Select the washer based on the fastener size and the joint material. The fastener size determines the inner diameter. The joint material determines the washer material and thickness.
Check the stress requirement. If the bearing stress is too high, increase the washer diameter. If the washer is too thin, it may not provide enough clearance.
Consider the environment. In corrosive environments, use a stainless steel or coated washer. In high temperature environments, use a material that retains strength at the operating temperature.
Final Thoughts
Flange washer application is a simple process that requires attention to detail. Clean the surface, align the fastener, and torque to specification. Verify the seating and the final torque.
The result is a joint that distributes load evenly and protects the surfaces. The washer extends the life of the joint and reduces maintenance. Follow the steps above to ensure reliable performance in industrial applications.
Frequently asked questions
What is the main purpose of a flange washer?
A flange washer reduces bearing stress by spreading the load over a larger area than the fastener head or nut. This protects the joint surface from crushing and deformation.
When should a flange washer be used?
Use a flange washer when the joint material is soft, when the surface must be protected, or when the bearing stress exceeds the allowable limit. It is common in aluminum, plastic, and thin sheet metal joints.
Can a flange washer be used with a nut?
Yes, a flange washer can be placed under a nut to distribute the load from the nut to the joint face. This is useful when the nut bears on a soft material.
How do I know if the washer is the wrong size?
If the washer rocks or tilts, the inner diameter is too large. If it does not seat flat, the outer diameter may interfere with nearby parts. Check the drawing for the correct dimensions.
Do I need to re-torque the joint after using a flange washer?
Yes, verify the torque after installation and during routine maintenance. Thermal cycles and vibration can cause the bolt to relax. Re-torque to specification to maintain preload.