Checklist: Verifying Dimensional Tolerance on Critical Bolts
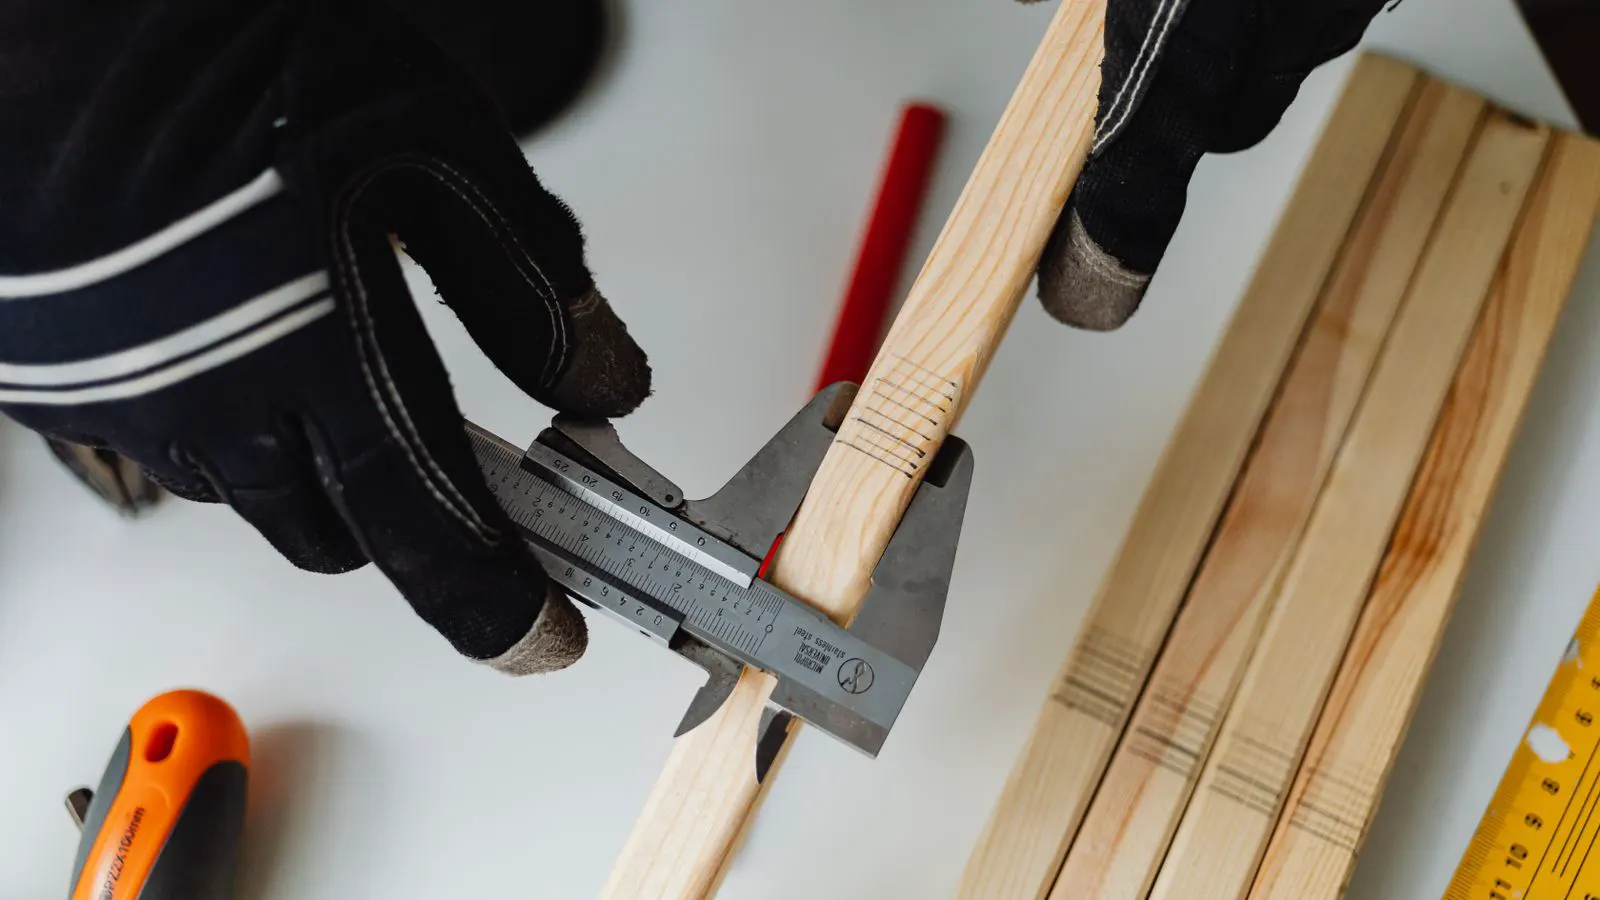
Verify bolt tolerances by checking thread pitch, major diameter, and head height against engineering specs. This checklist helps confirm dimensional inspection standards, manage fastener inspection risks, and apply quality control checks before installation.
- Confirm thread pitch, major diameter, and head height against the drawing before releasing material.
- Use calibrated gauges and micrometers to catch small deviations that torque tests might miss.
- Check for thread damage and head flatness, as these affect preload and joint integrity.
- Document all measurements and retain certificates to support traceability.
Why Dimensional Inspection Matters Before Installation
Bolt failure rarely begins with a material flaw. More often, it starts with a dimension that drifted beyond tolerance during production or handling. A fastener can pass a tensile test and still have a head height that is out of spec. This mismatch prevents proper clamping force. It can cause gasket compression issues or uneven stress distribution across the joint. Engineers specify tight tolerances to ensure that the fastener fits the joint and performs as designed under cyclic loads.
Before integrating bolts into a project, verify that every dimension meets the drawing requirements. This step is part of a broader quality control process. It helps identify nonconforming parts early. Early detection prevents costly rework on the assembly line. It also protects the structural integrity of the final product. Consider a high-pressure flange joint where the bolt circle diameter is critical. If the pitch of the threads is off, the bolt may not seat fully in the tapped hole. The resulting gap forces the operator to over-torque the fastener to achieve clamping, which risks shear failure later. Dimensional inspection catches this before the flange is torqued.
Measuring Thread Pitch: The Foundation of Threaded Joints
Thread pitch defines the distance between adjacent threads. If the pitch is wrong, the bolt will not thread correctly. It may cross-thread during assembly. This creates friction and reduces the effective clamping force. It can also damage the internal threads of the mating component. Cross-threading is a common source of field failures because the bolt appears installed but does not generate the designed preload.
To verify thread pitch, use a thread pitch gauge. Select the gauge that matches the specified thread size. Place the gauge in the threads and rotate it. The gauge should move freely without binding. If it binds or jumps, the pitch is likely out of tolerance. For fine threads, visual inspection is less reliable. Use a gauge to confirm the exact pitch. A simple example is a M6 fine thread bolt. The difference between a 1.0 mm pitch and a 1.25 mm pitch is small to the eye. However, a gauge will clearly show which one is present. Mixing these threads in a single batch can lead to assembly errors that are difficult to detect without gauging.
Check the thread form as well. Look for nicks, burrs, or rounding at the thread root. These defects weaken the thread and cause premature failure. A thread gauge only checks pitch. It does not check thread form. Combine pitch checks with visual inspection for a complete assessment. Thread form includes the angle of the thread flank and the sharpness of the crest. A rounded crest reduces the effective bearing area. This reduces the load capacity of the joint.
Verifying Major Diameter and Minor Diameter
The major diameter is the diameter at the thread crest. The minor diameter is the diameter at the thread root. Both dimensions affect the fit of the bolt in the hole. They also influence the load-bearing capacity of the joint. The major diameter determines how the thread engages the tapped hole. The minor diameter determines the clearance for the bolt to pass through the nut or tapped hole.
Use a micrometer to measure the major diameter. Take measurements at multiple points around the circumference. Record the average. Compare the result to the specified tolerance range. A deviation of even a few thousandths of an inch can be significant. It affects the fit in the mating hole. If the major diameter is too large, the bolt will not thread into the nut. If it is too small, the fit may be too loose, leading to vibration-induced loosening.
For the minor diameter, use a thread plug gauge. Select the gauge that corresponds to the specified thread size. The gauge should pass through the threads without excessive force. If it does not pass, the minor diameter is too small. If it passes with too much ease, the minor diameter may be too large. Both conditions indicate a problem. A plug gauge checks the minimum size of the thread root. It ensures that the thread has enough material to resist shear.
Check the major diameter of the shank as well. Some bolts have a reduced shank diameter. Measure the shank to ensure it meets the specification. A shank that is too small may not engage the bolt head properly. This can lead to bending or shear failure under load. The shank diameter must match the head size to distribute the load evenly. If the shank is undersized, the bolt may bend at the shoulder where the shank meets the threaded portion.
Inspecting Head Height and Seat Thickness
Head height is the distance from the base of the head to the top of the head. It determines how much material is available for the gasket or washer to compress. If the head height is too short, the clamping force may be insufficient. If it is too long, the bolt may interfere with other components. Head height is a critical dimension for flanged connections because it affects the gap between the flange face and the head.
Use a micrometer to measure the head height. Place the micrometer jaws on the top of the head and the base of the head. Take multiple measurements. Record the average. Compare the result to the specified tolerance range. A deviation can affect the preload in the joint. If the head is too low, the bolt may bottom out before the joint is properly compressed. If it is too high, the bolt may interfere with the mating flange or a nearby component.
Check the head flatness as well. Use a straightedge and a feeler gauge. Place the straightedge across the head. Insert feeler gauges to measure the gap. If the gap exceeds the tolerance, the head is not flat. A non-flat head can create uneven pressure on the joint. This can lead to gasket failure or bolt loosening over time. A warped head causes the gasket to compress unevenly, leading to leakage in high-pressure applications.
For slotted or hex heads, check the width across the flats. Use a caliper to measure the distance between two opposite flats. Compare the result to the specification. A deviation can affect the fit in the slot or the engagement of the wrench. It can also affect the torque application. If the flats are too narrow, the wrench may slip during assembly. This generates heat and can damage the head.
Checking Thread Damage and Surface Finish
Thread damage is a common cause of bolt failure. It can occur during manufacturing, handling, or storage. Look for nicks, burrs, and rounding at the thread root. These defects weaken the thread and reduce the load-bearing capacity. Thread damage often occurs when the bolt is dropped or when the thread is touched with a sharp object. It can also happen during the coating process if the coating is too thick.
Use a magnifying glass to inspect the threads. Look for any signs of damage. Pay special attention to the thread root, where the stress concentration is highest. A nick at the thread root can act as a stress riser. It can initiate a crack under load. Even a small nick can reduce the fatigue life of the bolt significantly. Under cyclic loading, a small defect can grow into a crack that leads to sudden failure.
Check the surface finish of the shank and head. A rough surface can increase friction during assembly. It can also affect the coating adhesion. Use a roughness gauge to measure the surface finish. Compare the result to the specification. A surface finish that is too rough can reduce the clamping force. A rough shank increases the coefficient of friction between the bolt and the nut. This means more torque is required to achieve the same preload, which can lead to over-torquing and shear failure.
Documenting and Retaining Inspection Records
Record all measurements in a log. Include the part number, batch number, and date. Record the measuring instrument used and its calibration date. This information supports traceability. It helps identify the source of any defects. If a bolt fails in the field, the records can help determine if there was a systemic issue with the batch.
Attach the inspection records to the certificate of conformity. Store the records in a secure location. Make them available for reference during the project. If a defect is found, the records help determine the scope of the problem. They also support any corrective actions taken. Traceability is a key part of quality management. It allows you to track a specific bolt back to the supplier and the manufacturing process.
Keep the inspection records for the life of the project. They are valuable for future maintenance. They provide a history of the fasteners used. They can help diagnose problems if they arise later. If a joint leaks or loosens, the inspection records can help determine if the fastener was within tolerance at the time of installation. This information is crucial for maintenance planning and troubleshooting.
Red Flags to Watch For
Watch for the following red flags during dimensional inspection:
| Red Flag | Potential Cause | Action |
|---|---|---|
| Thread pitch does not match spec | Manufacturing error | Quarantine and re-inspect |
| Major diameter out of tolerance | Tool wear or setup error | Check tooling and re-measure |
| Head height too short | Grinding error | Inspect for other head defects |
| Thread nicks or burrs | Handling damage | Check for other damage |
| Inconsistent measurements across batch | Process variation | Increase inspection frequency |
If you find any of these red flags, stop the process. Quarantine the material. Investigate the cause. Do not release the material until the issue is resolved. This prevents nonconforming parts from entering the project. A single red flag can indicate a larger problem. For example, if the thread pitch is off, the major diameter is likely off as well. Check all related dimensions before releasing the material. This approach saves time and prevents costly rework.
Conclusion: Building Confidence in Your Fasteners
Dimensional inspection is a practical step that builds confidence in your fasteners. It verifies that the parts meet the engineering specifications. It helps prevent failures that could be costly and dangerous. By following this checklist, you can ensure that your bolts are ready for installation. The goal is to catch defects before they become problems.
Use calibrated tools and follow the steps outlined above. Document your findings and retain the records. If you are unsure about any measurement, consult with a quality engineer. A small investment in inspection can save significant time and money later. It is a simple way to improve the quality of your project. Consistency in inspection is key. Use the same tools and methods every time to ensure reliable results.
Frequently asked questions
What is the primary purpose of dimensional inspection on bolts?
It verifies that thread pitch, major diameter, and head height meet engineering tolerances. This ensures proper fit and performance in the joint.
How often should dimensional inspection be performed?
Perform it on every batch of critical bolts. Increase the frequency if defects are found or if the process changes.
What tools are needed for dimensional inspection?
You need thread pitch gauges, micrometers, thread plug gauges, calipers, and straightedges. Ensure all tools are calibrated.
What should you do if a measurement is out of tolerance?
Quarantine the material. Investigate the cause. Do not release the material until the issue is resolved.
How does dimensional inspection relate to quality control?
It is a core part of quality control. It helps identify nonconforming parts early and supports traceability.