How to Test Bolt Tensile Strength Without Lab
You can verify bolt tensile strength on-site using manual load testing, proof load gauges, and visual inspection. This guide provides a practical, step-by-step method for basic workshops to ensure fasteners meet required mechanical limits without expensive laboratory equipment.
- Use a calibrated load cell or proof load gauge for accurate on-site force measurement.
- Always compare measured force to the specific standard or manufacturer specification for the grade.
- Visual inspection for deformation or cracking is essential to confirm the fastener passed the load test.
- Never exceed the specified proof load; testing to ultimate failure is only for statistical sampling, not routine checks.
- Document all test results to maintain a traceable quality record for your project.
Why On-Site Fastener Testing Is Necessary
Receiving a shipment of bolts is not the end of the quality control process. Even from reputable suppliers, batches can be misgraded, improperly heat-treated, or damaged during handling. In critical applications such as structural connections, wind turbine blades, or heavy machinery, a single weak fastener can lead to catastrophic failure.
On-site fastener testing allows engineers and buyers to verify mechanical strength limits without shipping samples to a costly laboratory. While it cannot replace the detailed metallurgical analysis of a full lab, it provides a crucial layer of protection. This guide focuses on practical methods using basic workshop equipment to perform reliable load testing.
What Equipment Do You Need for Basic Fastener Testing?
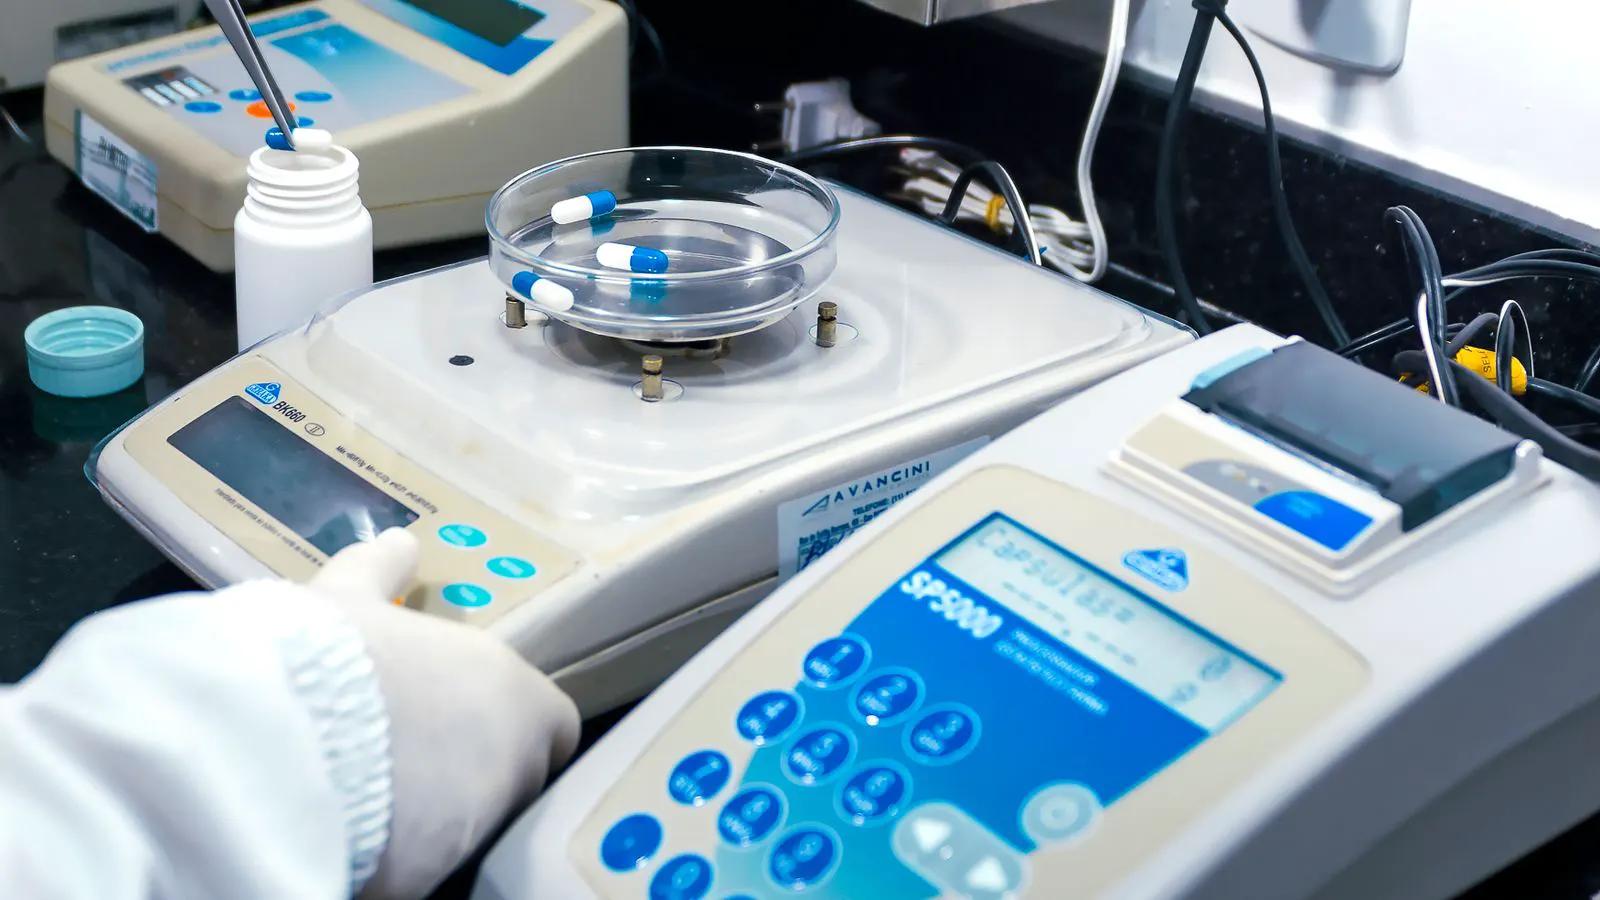
Before you begin any load test, you must have the correct tools to measure force and apply load safely. Using improvised methods can lead to inaccurate data and dangerous situations.
You do not need a million-dollar machine, but you do need precision. The core components of a basic fastener testing setup are a load application method, a force measurement device, and a secure test fixture.
| Equipment Item | Purpose | Typical Specification |
|---|---|---|
| Load Cell or Proof Load Gauge | Measures the force applied to the fastener | Calibrated for the required tonnage range |
| Hydraulic Press or Manual Jack | Applies the tensile force to the bolt | Rated capacity significantly higher than the test load |
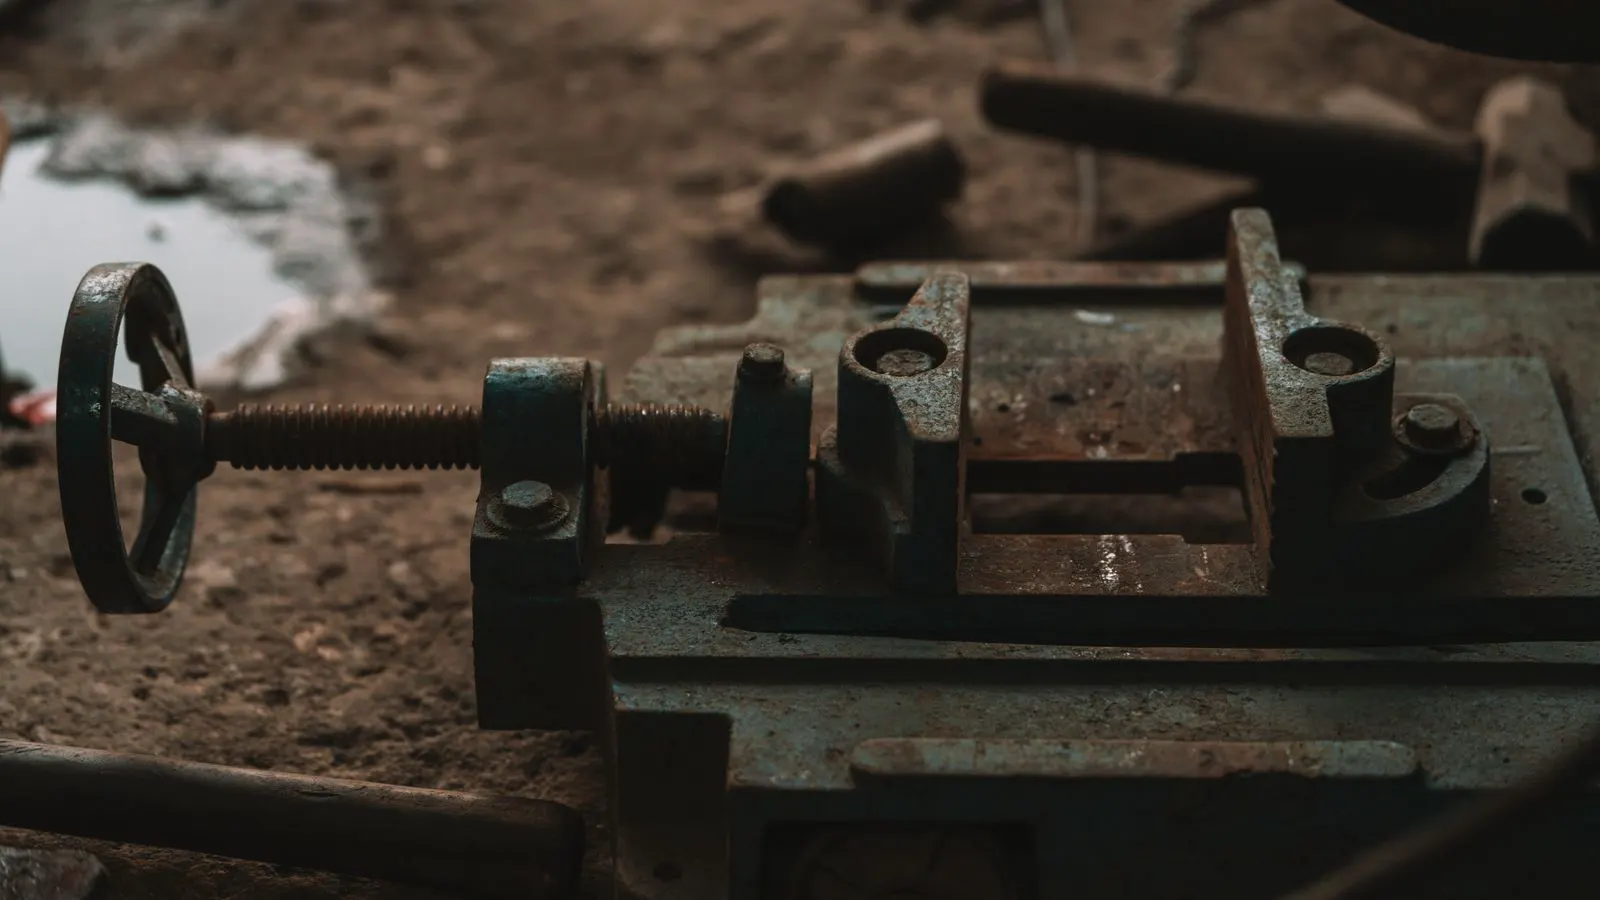
| Test Fixture (Vise or Jig) | Holds the fastener securely and aligned | Rigid steel construction with no play |
| Dial Indicator or Level | Checks for alignment and deflection | Sensitive enough to detect bending |
| Ruler or Calipers | Measures dimensions and checks for deformation | Standard steel or digital calipers |
Note: Always ensure your load gauge is within its calibration date. A gauge that is off by even 5% can give you a false sense of security.
Step-by-Step Guide to Bolt Tensile Strength Testing
The following procedure is designed for a workshop environment where you have a hydraulic press or a strong manual jack and a calibrated load gauge. This method tests the fastener to its proof load, which is the maximum stress the fastener should withstand without permanent deformation.
-
Identify the Fastener Grade and Specification. Before touching the bolt, determine its grade (e.g., A4-80, A2-70, or a custom grade) and the applicable standard. The required proof load is calculated based on the cross-sectional area of the stress section. If you do not know the grade, you cannot perform a valid test.
- Reason: You need a target value to compare your results against. Without the specification, the test is meaningless.
-
Prepare the Test Fixture. Secure the fastener in your jig or vise. The bolt must be held perfectly straight and parallel to the axis of the load. If the bolt is crooked, you are not testing tensile strength; you are testing bending resistance, which will likely fail the fastener prematurely.
- Reason: Misalignment introduces bending moments that can cause the fastener to fail at a force much lower than its true tensile strength.
-
Install the Load Gauge. Place the load gauge between the load application point and the fastener. Ensure the gauge is aligned with the bolt’s axis. If you are using a hydraulic jack, the gauge should be in line with the jack’s ram.
- Reason: The gauge must measure the direct tensile force. Any offset in the gauge will introduce shear forces, leading to inaccurate readings.
-
Perform a Visual Pre-Check. Inspect the bolt for any visible damage, such as cracks, nicks, or corrosion. Check that the threads are clean and the head or nut is undamaged.
- Reason: Pre-existing damage significantly reduces the cross-sectional area and creates stress concentration points. A bolt with a visible crack should be rejected before testing.
-
Apply Load Slowly. Begin applying force using the hydraulic press or jack. Do this slowly and steadily. Monitor the load gauge reading continuously.
- Reason: Rapid loading can cause shock loads that exceed the material’s yield strength, leading to failure even if the bolt is in good condition. Slow loading approximates static loading conditions.
-
Monitor for Deflection and Sound. As you increase the load, watch for any visible bending or stretching of the bolt. Listen for any creaking or popping sounds, which can indicate micro-cracking or yielding.
- Reason: Visual and auditory cues often precede a failure or significant deformation. This is a critical safety check.
-
Reach the Proof Load. Continue applying load until you reach the specified proof load for the fastener grade. Hold the load for a short period, such as 10 to 30 seconds, to allow any elastic recovery to settle.
- Reason: Holding the load ensures that the fastener is not just momentarily supporting the force but is actually stable under that load.
-
Record the Result and Inspect for Deformation. After holding the load, remove the force slowly. Record the maximum force applied and the gauge reading at the end of the hold. Then, visually inspect the fastener. Look for any permanent stretching, necking, or changes in thread pitch.
- Reason: A fastener that reaches the proof load but shows permanent deformation has failed the test. The goal is elastic deformation only.
-
Repeat for a Sample Size. Do not test just one bolt. A single bolt passing does not guarantee the entire batch is good. Select a random sample of 5 to 10 fasteners from the shipment and test each one using the same procedure.
- Reason: This provides a statistical confidence level. If one out of ten fails, the entire batch should be considered suspect.
Common Mistakes in On-Site Fastener Testing
Even with the right equipment, human error can lead to incorrect conclusions. Avoid these common pitfalls:
- Testing to Ultimate Failure: For routine quality checks, you should only test to the proof load. Testing to ultimate failure destroys the fastener and is only appropriate for statistical sampling of a small number of items.
- Using the Wrong Area: Calculating the proof load based on the nominal diameter rather than the actual cross-sectional area of the stress section will lead to an incorrect test load. Always use the correct area.
- Ignoring Environmental Factors: Extreme cold or heat can affect the material’s properties. While this is less common in a standard workshop, be aware that a bolt tested in freezing conditions may behave differently than one tested in a warm room.
- Failing to Calibrate: As mentioned, a load gauge must be calibrated. If you are not sure about the calibration status, do not use the gauge for critical decisions.
Final Verification and Documentation
The final step is not just about passing or failing the bolt; it is about creating a record. For every fastener tested, document the following:
- Date of test
- Fastener grade and specification
- Batch or lot number
- Measured proof load
- Result (Pass/Fail)
- Name of the tester
This documentation is your primary defense if a failure occurs later. It proves that you took reasonable steps to verify the quality of the fasteners you received. If a fastener fails, you should quarantine the entire batch and contact the supplier immediately. Do not return the failed fastener to inventory.
By following these practical steps, you can significantly reduce the risk of using substandard fasteners. While on-site testing is not a substitute for full laboratory certification, it is a vital tool for any professional buyer or engineer responsible for the integrity of their projects.
Frequently asked questions
Can I test fasteners to their ultimate breaking strength in the workshop?
It is technically possible, but it is not recommended for routine quality control. Testing to ultimate strength destroys the fastener and can be dangerous. For regular checks, always test to the proof load, which ensures the fastener can support the load without permanent deformation.
What is the difference between proof load and ultimate tensile strength?
Proof load is the maximum stress a fastener can withstand without permanent deformation. Ultimate tensile strength is the maximum stress the fastener can withstand before it breaks. Proof load is the standard used for quality control, while ultimate strength is a material property measured in laboratories.
Do I need a hydraulic press to test bolt tensile strength?
No, but you need a reliable method to apply a controlled tensile load. A strong manual jack, a lever system, or a dedicated tensile tester can all be used. The key is that the load must be applied straight and measured accurately.
How many fasteners should I test from a batch?
There is no single universal number, but testing at least 5 to 10 random fasteners per batch is a common practice. This provides a reasonable statistical sample to identify if the batch is generally good or if there are significant issues.
Can I use a spring scale to test bolt tensile strength?
A spring scale is generally not accurate enough for structural fastener testing. Spring scales are prone to drift and have a limited range. For reliable results, use a calibrated load cell or a dedicated proof load gauge designed for this purpose.