Troubleshooting Stripped Fastener Threads in the Field
Stripped fastener threads usually result from corrosion, misalignment, or improper torque. This guide lists common symptoms, likely causes, and repair methods, including thread repair kits and replacement strategies, to help buyers fix field failures.
- Diagnose stripped threads by checking for cross-threading, corrosion, and torque history before applying a repair.
- Use a thread repair insert for minor damage when the parent material has enough thickness to hold a threaded sleeve.
- Replace the fastener entirely if the thread damage extends past the shank or if the parent material is thin or brittle.
- Prevent future failures by using thread lock, anti-seize, and calibrated torque tools.
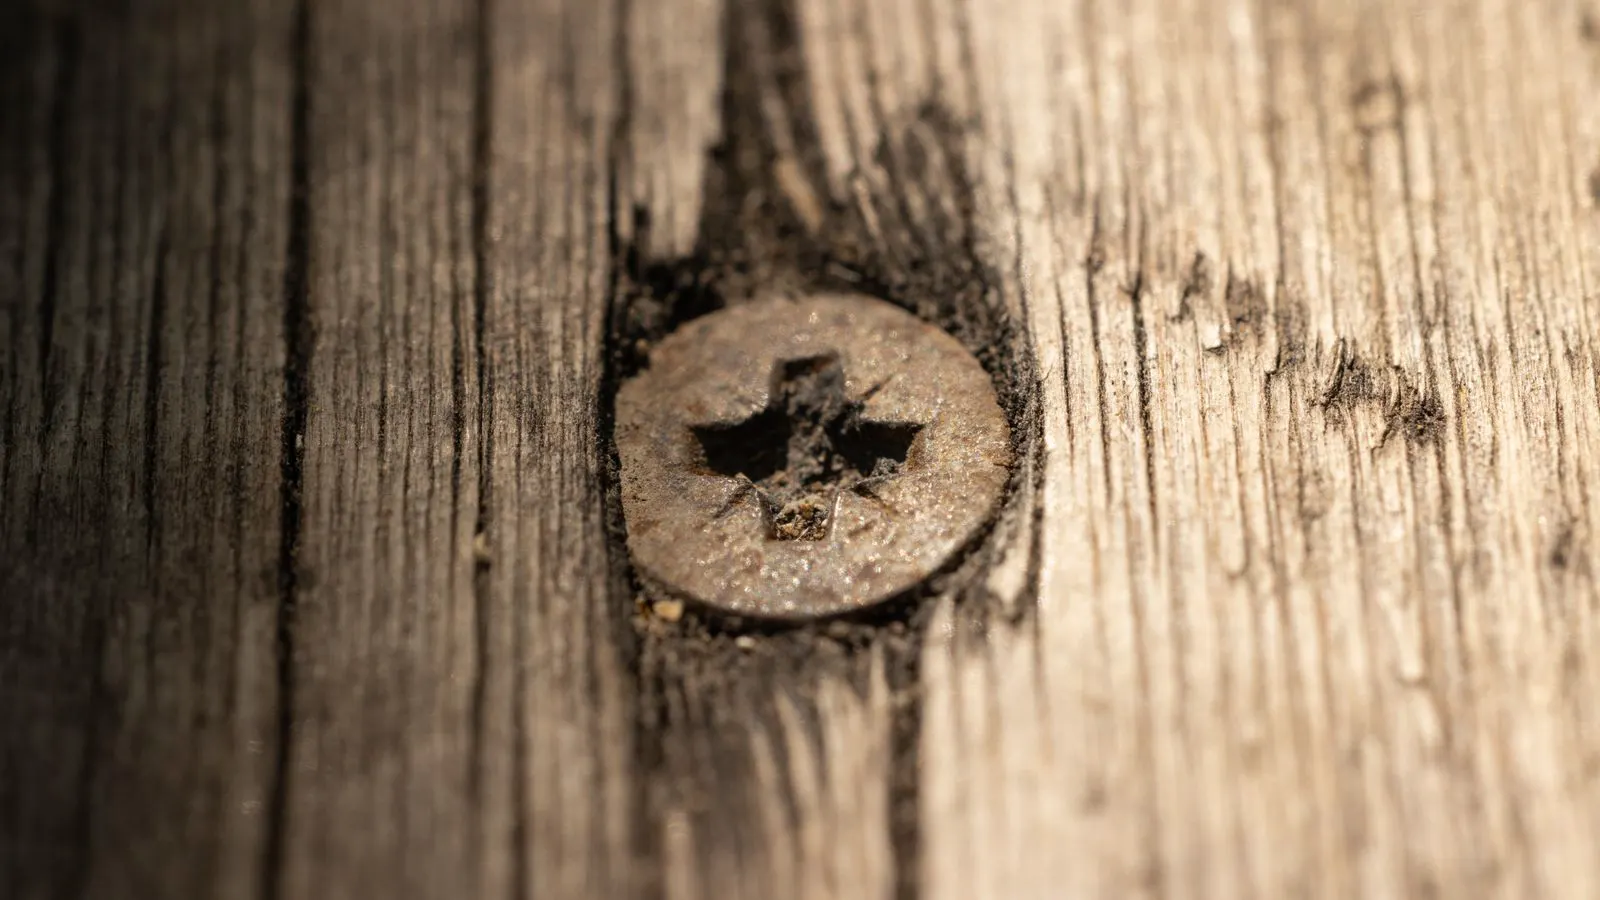
A stripped fastener thread is a common failure in the field. It appears as a bolt that will not turn, a nut that spins freely, or a hole that no longer accepts the original fastener. This happens in maintenance, retrofitting, and assembly. The repair method depends on the parent material and the location of the damage.
Why threads strip in the field
Stripped threads rarely fail for a single reason. The most common causes are corrosion, misalignment, and improper torque.
Corrosion weakens the thread crest and root. Salt, moisture, and chemical exposure accelerate this. A bolt that looks intact on the outside may have a thread root that is too thin to hold load.
Misalignment causes the fastener to cross-thread on start-up. If the hole is not square to the surface, the first few turns force the thread into a skewed path. This creates high stress on the thread flanks.
Torque over-application is the most common mistake. A wrench that is too long multiplies the force. A torque wrench that is past its calibration window over-tightens. The thread deformation is often permanent.
Identifying the type of thread damage
The repair path depends on what is actually damaged. Before buying a repair kit, inspect the fastener and the parent material.
Thread crest damage
The top of the thread is rounded or flattened. The fastener still turns, but it does not bite. This is often caused by a lack of lubrication or by a second fastener that was forced into the hole. The parent material threads may still be intact.
Thread root damage
The bottom of the thread is crushed or torn. The fastener may turn, but it will not hold preload. This is usually caused by over-torque or corrosion. The parent material may show signs of plastic deformation.
Complete thread loss
The hole no longer has a threaded profile. The fastener has been backed out or the parent material was damaged by a drill bit or a tool. The fastener may not turn at all.
Cross-threaded hole
The threads in the parent material are damaged but still present. The fastener turns but feels rough or skips. This is a result of misalignment. The thread profile is no longer a clean helix.
Troubleshooting table for field repairs
The table below lists the most common field symptoms, their likely causes, and the recommended repair or mitigation step.
| Symptom | Likely cause | What to do |
|---|---|---|
| Fastener spins freely in the hole | Thread root damage or complete thread loss | Use a thread repair insert or a larger threaded sleeve. If the hole is too large, use a threaded rod and a sleeve. |
| Fastener turns but feels rough or skips | Cross-threaded hole or partial crest damage | Clean the hole with a thread die. If the die cuts cleanly, the hole is usable. If the die binds, use a thread repair insert. |
| Fastener will not start turning | Misalignment or corrosion in the thread | Apply penetrating oil and heat. Use a left-hand thread extractor or a slightly larger drill bit to clear the hole. |
| Fastener turns but does not hold preload | Thread root damage or over-torque deformation | Replace the fastener with a higher grade or a different thread form. If the parent material is intact, use a thread repair insert. |
| Fastener is stuck and will not back out | Corrosion or chemical seizure | Apply penetrating oil and controlled heat. Use an impact wrench or a hydraulic puller. Do not use excessive force that damages the parent material. |
| Hole diameter is larger than the fastener shaft | Previous over-tightening or wrong fastener size | Use a threaded sleeve or a dowel pin and a new hole. If the parent material is thin, use a rivet nut or a threaded insert. |
Field repair methods
The choice of repair depends on the parent material, the size of the fastener, and the access to the area.
Thread repair inserts
A thread repair insert is a small sleeve that threads into the parent material. It provides a new thread profile for the fastener. This is the preferred method for minor damage where the parent material is thick enough to hold the insert.
The insert is usually made of steel or brass. It is installed by tapping the hole to a specific size. The insert is then screwed into the tapped hole. The fastener threads into the insert.
This method works well in steel, aluminum, and cast iron. It does not work well in thin sheet metal or in brittle materials like castings with cracks. The parent material must have enough thickness to hold the tap and the insert.
Threaded sleeves and collars
A threaded sleeve is a longer tube that threads into the hole. It is used when the damage is deep or when the parent material is thin. The sleeve provides a longer thread engagement.
This method is common in machinery frames and structural members. The sleeve is often welded or riveted to the parent material for additional strength. The fastener threads into the sleeve.
This method is more invasive than a thread repair insert. It requires more preparation and more access. It is not suitable for small holes or tight spaces.
Drilling and tapping a new hole
If the thread damage is severe, the original hole is no longer usable. The repair is to drill a new hole and tap a new thread. This changes the fastener size and the location.
This method is only viable if the parent material has enough thickness and the new hole does not interfere with other features. It is common in structural steel and thick plate.
This method is not suitable for thin sheet metal, castings with thin walls, or areas where the new hole would reduce the structural section.
Threaded inserts and rivet nuts
A threaded insert is a small device that is press-fitted or riveted into the parent material. It provides a new thread profile. This is common in sheet metal and thin plate.
A rivet nut is a type of threaded insert that is installed from the back side. It is common in automotive and aerospace applications. It does not require a tap.
This method is fast and does not require deep drilling. It is not suitable for thick sections or for high-load applications. The shear strength of the parent material around the insert is the limiting factor.
Prevention and best practices
Preventing stripped threads is cheaper and faster than repairing them. The following practices reduce the risk of failure in the field.
- Use the correct fastener size. A fastener that is too large for the hole will strip the thread. A fastener that is too small will not hold. Check the drawing or the standard before installation.
- Use thread lock. A thread lock prevents vibration from loosening the fastener. It does not prevent over-torque, but it reduces the chance of a fastener backing out and stripping the thread.
- Use anti-seize where appropriate. Anti-seize reduces friction and prevents corrosion. It should not be used on threads that require a specific torque to hold. It can cause over-torque if the user does not adjust the torque value.
- Use calibrated torque tools. A torque wrench that is past its calibration window is a common cause of over-torque. Check the calibration date before use.
- Ensure alignment. Before tightening, check that the fastener is square to the surface. A misaligned fastener will cross-thread. Use a guide or a jig if available.
- Lubricate the threads. Lubrication reduces friction and prevents corrosion. It also helps the fastener seat properly. Use the lubricant recommended by the fastener manufacturer or the standard.
- Use the correct fastener grade. A fastener that is too soft for the application will deform under load. A fastener that is too hard will snap. Check the grade marking on the head or the shank.
When to replace the fastener
A repair is not always the right choice. If the thread damage is extensive, or if the parent material is damaged, the fastener and the hole should be replaced.
Replace the fastener if the thread damage is in the shank, not just in the head. The shank carries the load. If the shank is damaged, the fastener is no longer safe.
Replace the fastener if the parent material is thin or brittle. A thread repair insert may not hold in thin sheet metal or in a casting with a crack. The repair may fail under load.
Replace the fastener if the application is safety-critical. In structural, pressure, or high-speed applications, a repaired thread may not meet the original design standard. Use a new fastener and a new hole if required by the design.
Common mistakes to avoid
- Using a larger fastener without checking the hole size. A larger fastener may not fit the hole. It will strip the thread or damage the parent material.
- Over-torquing a thread repair insert. The insert is usually smaller than the original fastener. It has a lower torque rating. Do not torque it to the same value as the original fastener.
- Ignoring corrosion. Corrosion is a sign of a systemic problem. Fixing one stripped thread without addressing the corrosion will lead to more failures.
- Using a tap without checking the thread size. A tap that is the wrong size will damage the hole further. Check the thread size on the fastener or the drawing before tapping.
- Forgetting to lubricate the repair thread. Lubrication helps the insert thread in cleanly and prevents future corrosion.
Final check before re-tightening
After the repair, check the fastener and the hole before re-tightening.
- The fastener should turn smoothly. There should be no rough spots or skips.
- The fastener should seat fully. The head or the nut should be flush with the surface.
- The torque should be within the specified range. Use a calibrated torque wrench.
- The thread should be clean. Remove any debris, oil, or metal shavings.
- The parent material should show no cracks or deformation.
A stripped fastener thread is a manageable problem in the field. The repair method depends on the damage and the parent material. A thread repair insert is a good option for minor damage. A threaded sleeve or a new hole is needed for severe damage. Prevention is the best way to avoid the problem. Use the correct fastener, the correct torque, and the correct lubrication. Check the alignment before tightening. If the damage is extensive, replace the fastener and the hole. A good repair restores strength. A bad repair creates a new failure point.
Frequently asked questions
Can I use a thread repair insert on a stripped bolt in aluminum?
Yes, provided the aluminum has enough thickness to hold the insert. Thin sheet metal may not support the shear load of an insert.
What is the difference between a thread repair insert and a threaded sleeve?
A thread repair insert is a short sleeve that threads directly into the parent material. A threaded sleeve is longer and is often welded or riveted to the parent material for added strength.
Should I use anti-seize on a thread repair insert?
Use a lubricant that is compatible with the insert material. Anti-seize can reduce friction and change the torque-to-tension relationship. Check the insert manufacturer's recommendation.
Is it safe to use a larger fastener in a stripped thread?
Only if the parent material can support the larger diameter and the larger thread. A larger fastener may not seat properly and can damage the parent material further.
How do I know if the parent material is damaged?
Look for cracks, deformation, or a change in the hole shape. If the hole is no longer a clean cylinder or if the material is thin around the hole, the parent material may be damaged.